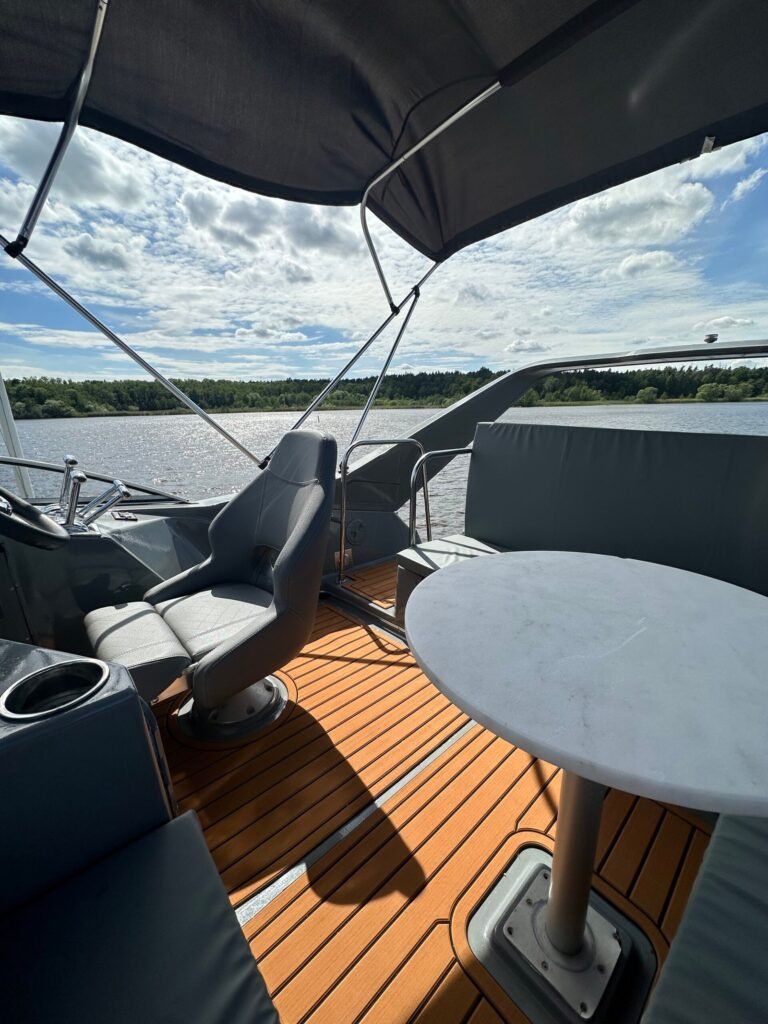
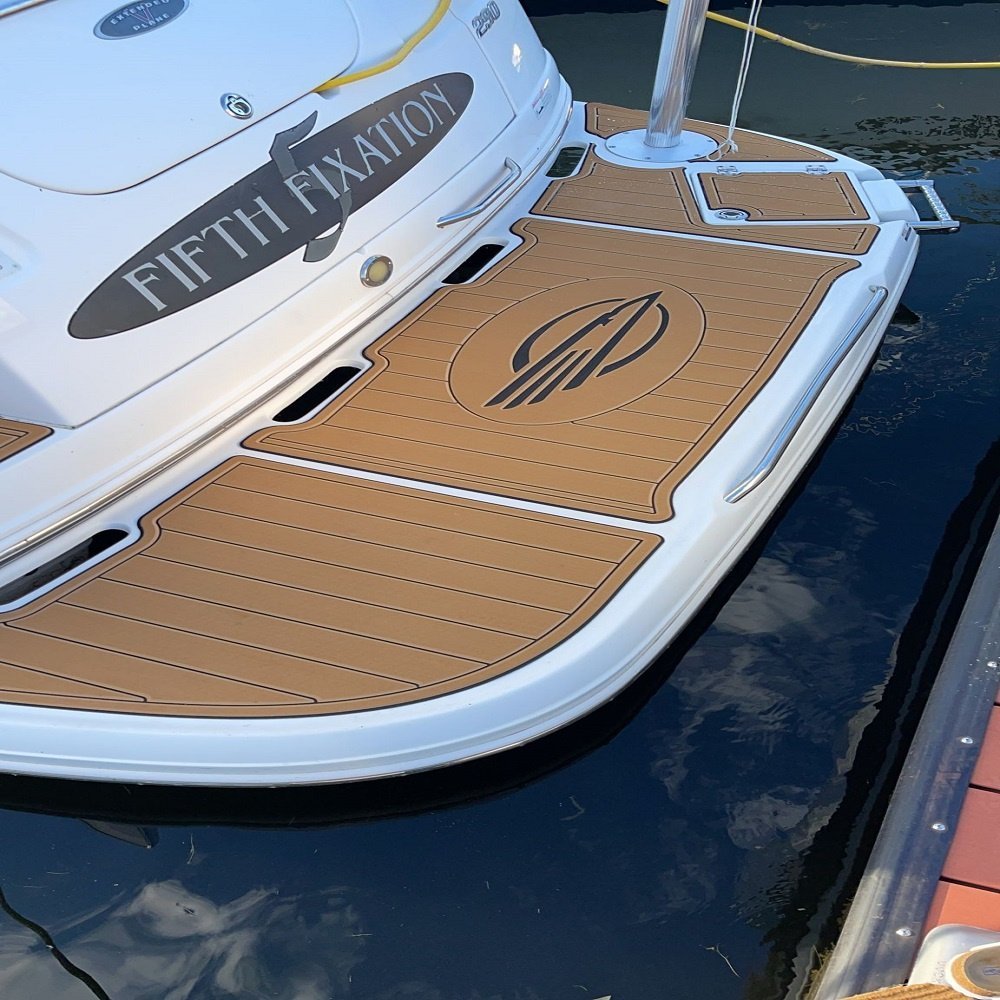
If you are planning to refresh your boat deck, custom EVA foam flooring is one of the most popular upgrades on the marine market. It delivers non‑slip safety, waterproof protection, and a sleek, modern finish that instantly transforms an old boat interior. While our DuraSportmat EVA mats are pre‑precision cut to match your boat’s deck shape, proper installation determines the final look and long‑term durability. This step‑by‑step guide will walk you through the full DIY installation process, helping you avoid common mistakes like air bubbles, lifted edges, or misaligned seams.
Tools You Will Need Before Starting
Gather all supplies ahead of time to avoid interruptions during installation.
- Painter’s masking tape
- Isopropyl alcohol (90% or higher) and lint‑free microfiber cloths
- Rubber installation roller
- Utility knife with fresh sharp blades
- Vacuum cleaner
- Marker for alignment marks
Important note: Choose a dry, mild day to install. Extreme heat, cold, or high humidity will affect adhesive performance. The ideal surface temperature is between 18°C and 28°C. Do not install in direct strong sunlight.
Step 1: Prepare the Boat Deck Surface
The biggest cause of EVA flooring failure is poor surface preparation. Your deck must be solid, completely clean, dry, and free of wax, grease, oil, old glue residue, and dust.
First, remove seats, cleats, hatch hardware and any old carpet or worn flooring from the deck. Use a scraper to clear leftover adhesive. Vacuum the whole area thoroughly to remove sand, dirt and debris.
Next, wipe the full deck surface with isopropyl alcohol. This removes marine wax, silicone polish and oil that soap cannot clean. Any invisible residue will stop the adhesive from bonding properly and cause the mat to peel later. Let the deck air dry fully. Do not start installation if there is any moisture on the surface.
Inspect your deck for cracks or soft spots. EVA flooring covers cosmetic marks, but it cannot fix structural deck damage. Repair any defects before moving forward.
Step 2: Dry Fit All EVA Mats (Critical Step)
Before peeling any adhesive backing, lay every piece on your deck for a dry fit. This is the most important step to check alignment, seam gaps, and how each panel sits around hatches, drain holes and curves.
Our DuraSportmat products are pre‑cut to match your boat model, but every vessel has minor factory variations. Use masking tape to temporarily hold the mats in place. Check the pattern grain direction, and confirm all cutouts line up perfectly with deck fixtures. Mark reference lines on the deck with tape for easy positioning later.
Take your time here. If any part does not fit correctly, contact us before removing the release liner. Once the adhesive backing is peeled off, the mat cannot be repositioned repeatedly without losing stickiness.
Step 3: Apply the EVA Mats with the Hinge Method
We recommend the hinge method for installation, which prevents the mat from sticking prematurely and keeps alignment accurate.
- Leave the mat taped in its dry-fit position.
- Fold one half of the mat back, peel away a small section of the release liner.
- Align the exposed adhesive edge with your tape mark, then press it down gently.
- Slowly peel the remaining liner while pressing the foam from the center outward. This pushes trapped air toward the edges and eliminates bubbles.
- Repeat the same process for the other half of the panel.
Never peel off the entire backing sheet at once. The strong PSA adhesive will stick instantly, and you will lose the ability to adjust position. Also, do not stretch or pull the EVA foam to force it into shape. Stretching will create colour shifts and cause the mat to shrink or lift after installation.
Step 4: Roll the Panel to Activate the Adhesive
Once one piece is fully placed, use your rubber roller to apply firm, even pressure across the entire surface. Roll from the centre toward all edges, paying extra attention to corners, narrow strips and seams between panels.
This pressure activates the adhesive and ensures full contact between the EVA and deck. Run the roller over every seam repeatedly. If small air bubbles appear, poke a tiny pinhole in the foam and squeeze air out, then roll flat. The pinhole will be nearly invisible after pressing.
Repeat this dry-fit, peel-and-roll process for every panel until your whole deck is finished. Keep checking seams to maintain consistent gaps and matching grain direction.
Step 5: Cure Time & Post-Installation Care
The EVA mat will have light initial grip immediately after installation, but it needs time to fully bond.
- Avoid heavy foot traffic for the first 24 hours.
- Do not wash, pressure wash, or flood the deck for 72 hours.
- Keep the boat out of heavy rain during the curing period.
After full curing, your new EVA flooring is ready for marine use. It offers excellent slip resistance, UV stability and waterproof performance. For daily maintenance, simply rinse with fresh water and mild soap. Avoid harsh abrasive cleaners.
Common Installation Mistakes to Avoid
- Skipping surface cleaning: Wax and silicone residue are the top reason for peeling edges.
- Removing all liner at once: You lose positioning control.
- Forcing stretched foam: EVA will rebound and lift.
- Blocking drain holes: Always keep scuppers and bilge openings clear.
- Installing in extreme temperatures: Too hot or too cold weakens adhesive.
Final Words
Custom EVA boat flooring is a great DIY upgrade, but success relies on patient preparation rather than speed. DuraSportmat pre‑cuts every set to match your boat model, so you spend less time cutting and more time refreshing your yacht. If you run into any questions during your installation, our team is ready to offer support.